
Heat set insert tips for 3D printing: hole size, depth and temperature
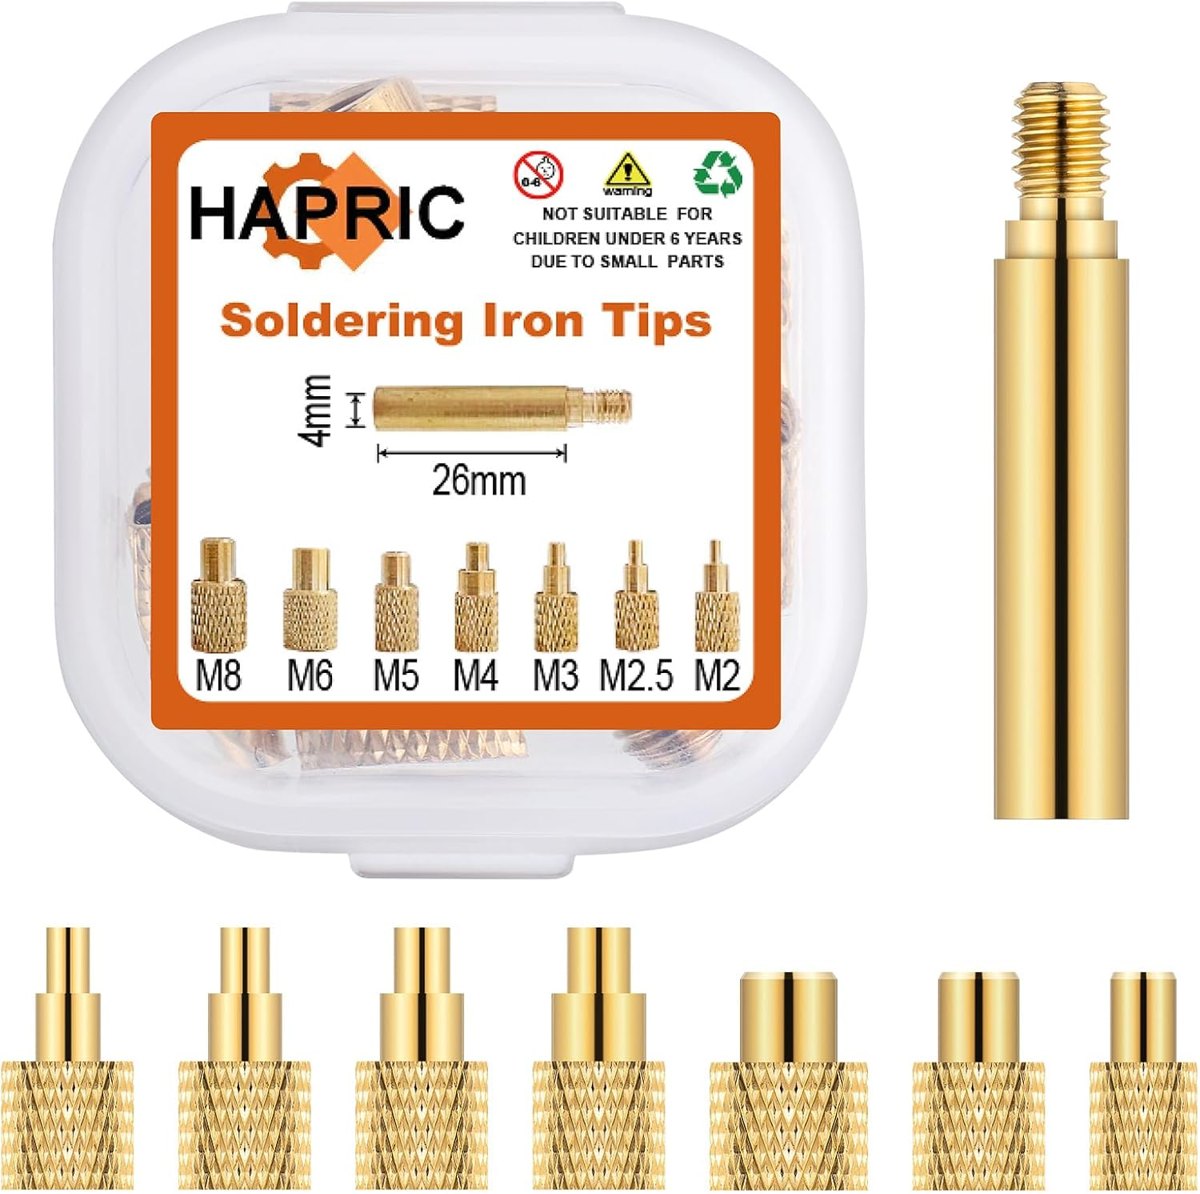
Heat set insert tips for 3D printing, in one page: a heat-set threaded insert gives a printed plastic part a real metal thread. The insert is brass, knurled on the outside, and a soldering iron with a tip of the right size presses it into the hole until the plastic melts around it and bonds as it cools. Done right, the threaded insert resists more pull-out and torque-out load than any thread printed in plastic, and screws go in and out hundreds of times without wear. Here is how we design the hole and install the insert with the tool from our kit.
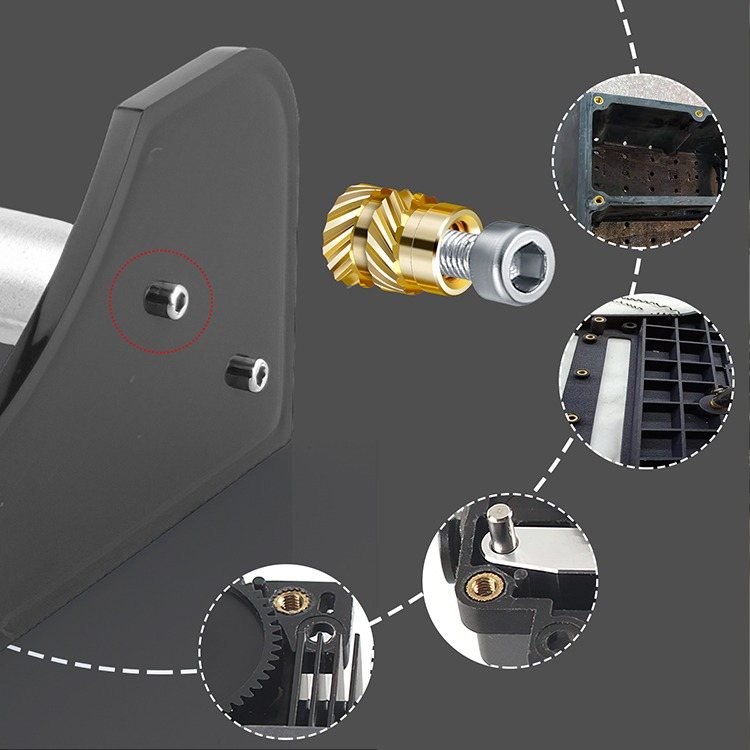
Design the hole for the insert, not the screw
A heat-set insert is a short brass sleeve with an internal machine thread (M2 to M8 are the common sizes) and an external surface of knurls and grooves. The printer should leave a hole whose diameter sits between the insert's body and its knurled outer diameter, so the plastic has material to flow into the grooves and create a secure bond. For a standard knurled insert that is roughly 3.2 mm for M2, 3.6 mm for M2.5, 4.0 mm for M3, 5.6 mm for M4, 6.4 mm for M5, 8.0 mm for M6 and 10.0 mm for M8; check the precise dimensions of the insert you select and test in a scrap print before committing a long part.
How deep should a heat set insert hole be? The insert length plus 1 mm for M2 to M4 and plus 1.5 to 2 mm for M5 to M8, so the displaced plastic has somewhere to go and the insert ends up flush with the surface instead of standing proud. Leave at least 2 mm of wall around the hole, print the boss with solid infill so the walls do not collapse while working hot, and add a small chamfer at the mouth so the insert self-centres. A straight-walled hole is better than a tapered one: the knurl, not the taper, is what resists pull-out.
Temperature and installation steps
What temperature for heat set inserts in PLA? Set the iron to 200 to 220 degrees Celsius. PETG takes the same range or a little higher; ABS and ASA need about 240 to 250. Too cold and the insert stalls halfway and tears the hole on the way out; too hot and the plastic reflows into the internal thread and the screw will not start. Brass conducts heat fast, so a small iron with the right tip is enough.
- Screw the tip of the matching size onto the adapter and the adapter onto the soldering iron; let it reach temperature.
- Rest the insert on the hole, thread side up, and seat the tip inside it.
- Hold the iron vertical and let its own weight push; do not lean on it.
- When the top of the insert is level with the surface, lift the tip straight out.
- Press a flat metal object on the warm insert for a second to even out any tilt, then leave the part alone for a minute while the plastic sets.
- Run a screw in by hand to check the thread; if it binds, the plastic reflowed and the insert needs to come out and go in cooler.
If an insert goes in crooked, heat it again, pull it with the tip, let the hole cool fully and start over. Never force a screw into a tilted insert: the plastic, not the brass, is the weak part of the joint, and a crooked insert cracks the boss.
Which screws and inserts to use together
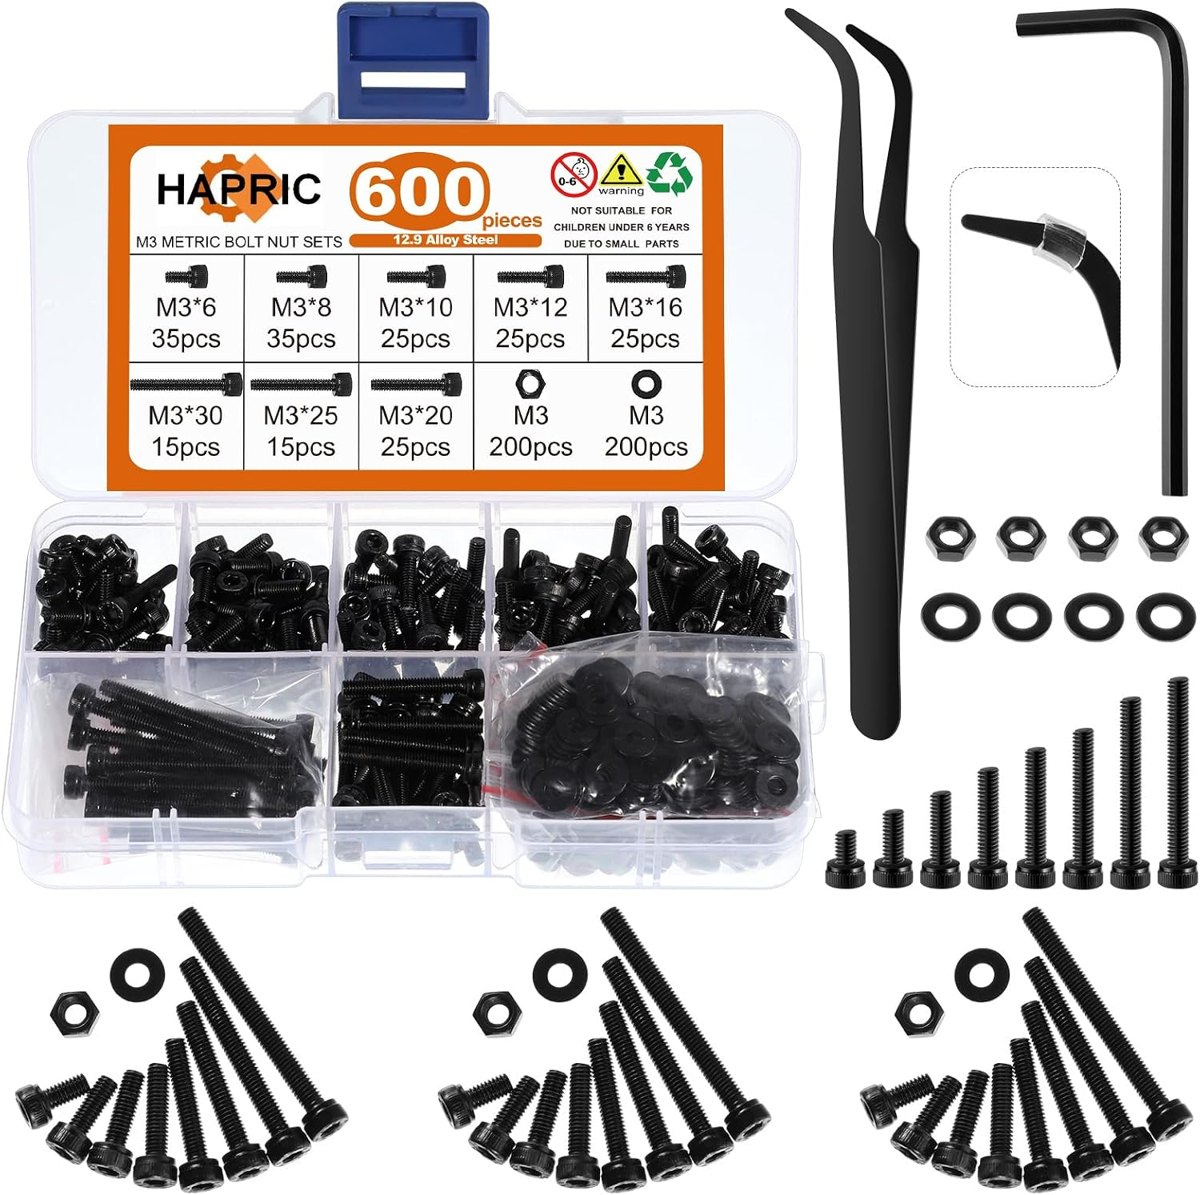
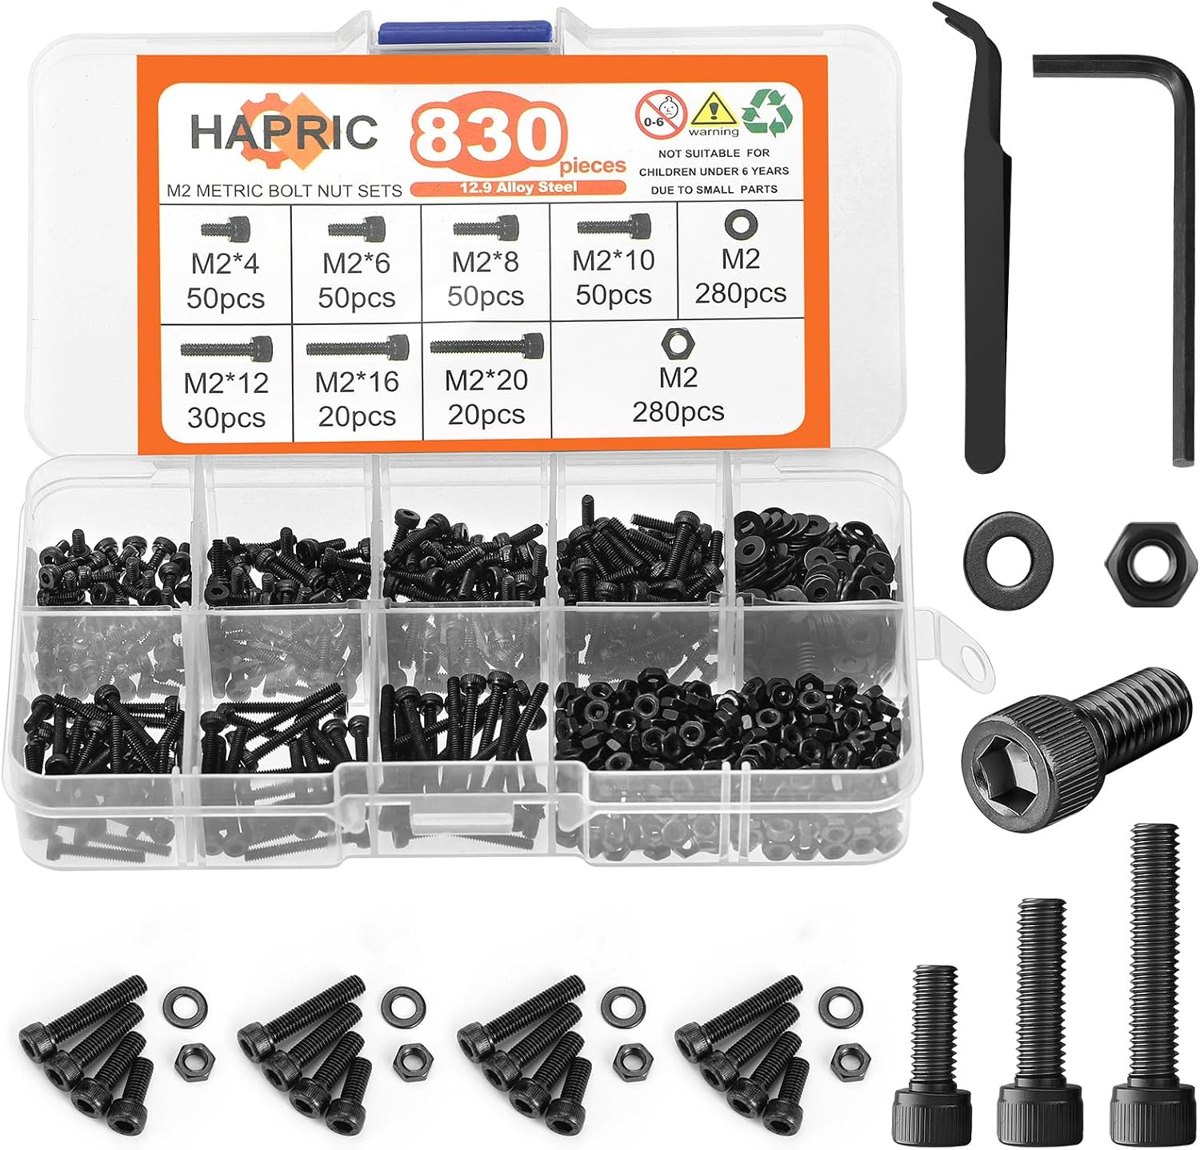
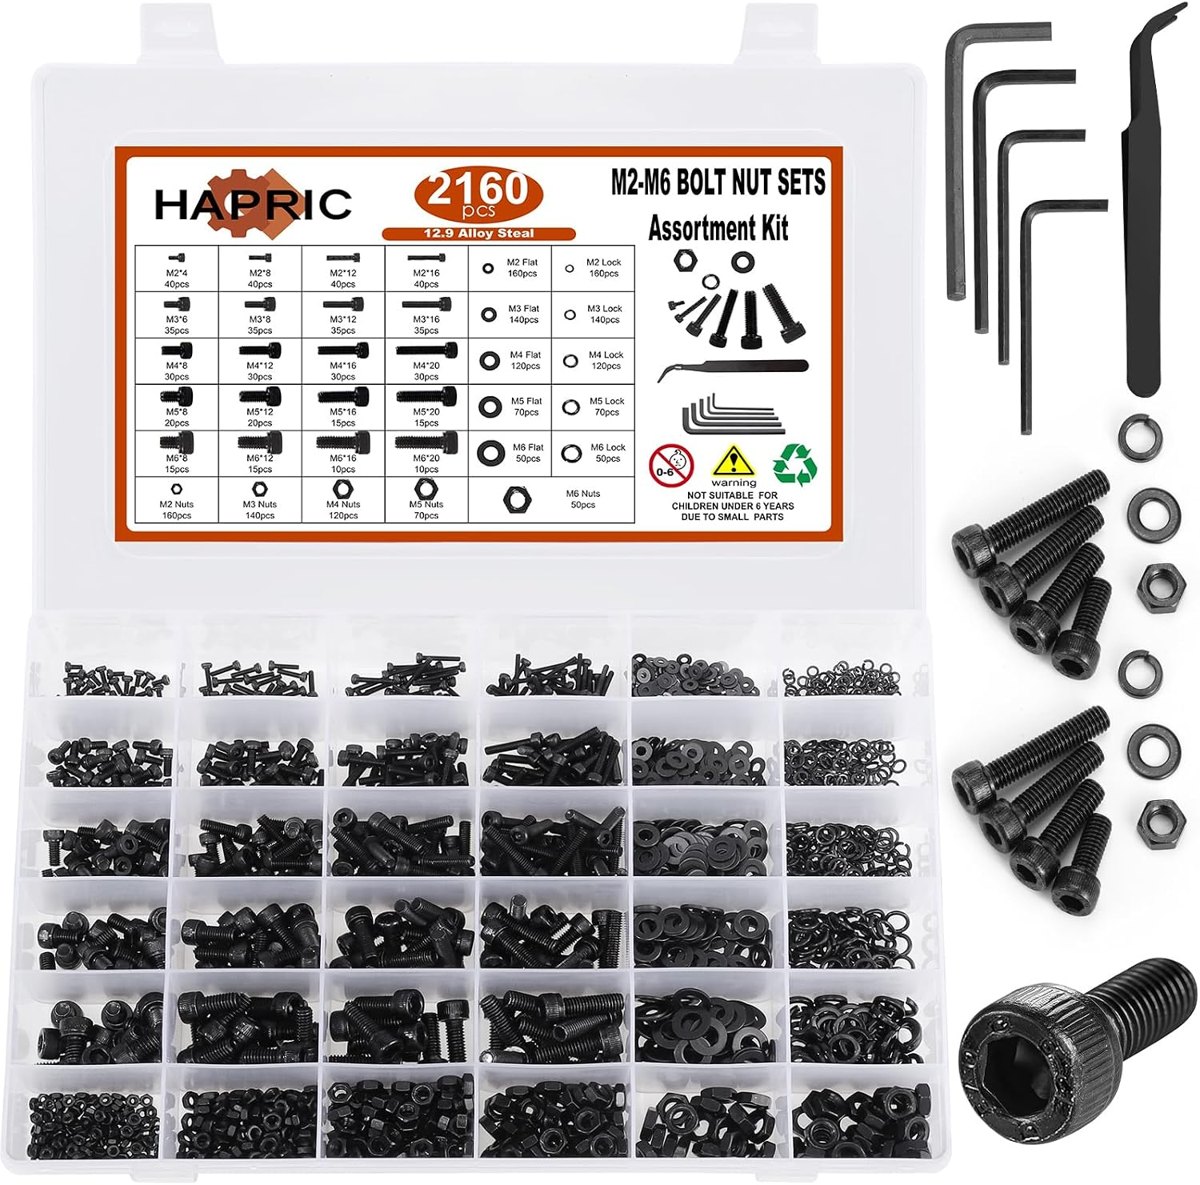
Use socket head machine screws of the same thread: M2 to M6 from our metric kits match the inserts one for one, and the hex key in the lid tightens them without camming out. Tighten to snug, not to torque; the bond between brass and plastic is strong in shear and weaker in pull-out, so a screw that is over-tightened pulls the insert rather than clamping the part. For applications that see vibration, a drop of removable thread locker on the screw is better than more torque. Printed in PLA, PETG or ABS, a properly embedded insert makes a durable mounting point for brackets, enclosures, lids and anything that is assembled more than once.